Seven Fujifilm Settings You Should Check Carefully
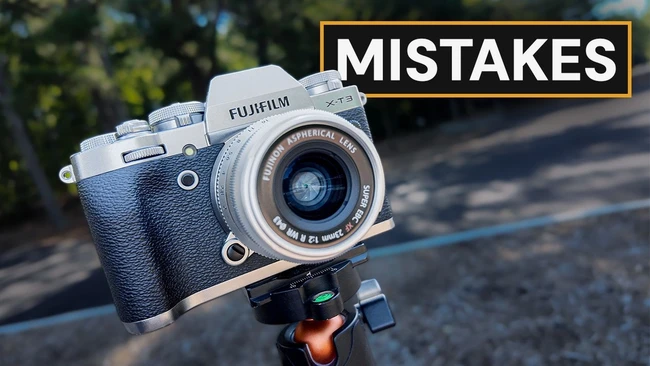
When you unbox a new Fujifilm camera, it feels like receiving a tool carved specifically for your hand, polished and ready to work. Yet, the moment you step out into the real world, the camera's default personality often clashes with your vision. These factory settings are designed to be safe, predictable, and compliant with the widest possible audience, which means they frequently prioritize consistency over creativity. For the serious photographer, however, that consistency is a silent saboteur, quietly turning potential masterpieces into flat, muddy, or color-shifted images before you even press the shutter.
The most notorious culprit is almost certainly the default picture style. While Fujifilm is famous for its vibrant simulations, the stock setting is often a bland, over-processed look that crushes shadows and lifts highlights to a point where dynamic range is sacrificed for a "poppy" aesthetic. This isn't just a matter of taste; it is a fundamental misrepresentation of the scene. By leaving this unchecked, you are forcing your lens to render data in a way that contradicts the light, making post-processing a fight against the algorithm rather than a refinement of the image.
Beyond the picture styles, the white balance defaults can be equally treacherous, particularly in mixed lighting scenarios. Cameras are programmed to auto-correct based on a specific assumption of the light source, but in the chaotic reality of street photography or indoor events, that assumption often fails. A slight shift in color temperature can turn a warm sunset into a sickly orange or a cool blue hour into a sterile, deadened gray. Without manually locking in a custom white balance or adjusting the Kelvin scale, you are fighting an invisible war against color casts that no amount of RAW processing can perfectly undo if the initial capture is flawed.
Then there is the matter of focus peaking and the autofocus sensitivity curves, settings that sit deep within the menus and are rarely touched after the initial setup. These controls dictate how the camera sees your subject. A sensitivity set too high can hunt endlessly for a lock that isn't there, causing missed shots in fast-paced environments, while a sensitivity set too low can lock onto the wrong element entirely. It is a paradox of modern technology: the more sophisticated the auto-focus system, the more critical the manual tuning becomes to ensure the camera is seeing the world exactly as you do.
Finally, consider the aspect ratio and JPEG compression settings. Many users accept the default 3:2 crop and maximum compression to save space, not realizing that the former limits the framing possibilities and the latter introduces artifacts that degrade image quality, especially when cropping later. These small, seemingly insignificant choices compound over time, creating a body of work that feels technically competent but aesthetically lacking. The solution lies not in buying a new body, but in taking the time to navigate those buried menus and reconfigure the camera to serve your artistic intent rather than the manufacturer's generic standard.
On Bluesky? Meet HomeSky.
Follower analytics, a growth toolkit, scheduling and AI posting — built for Bluesky. Connect your account and use everything free for 60 days.
Try HomeSky free →